
If you’ve ever paid $6–$8 for a matcha latte and thought, “I could probably make this myself” you’re right. And it takes less time than waiting in the drive-thru line.
A great matcha latte comes down to three things: good matcha, the right water temperature, and a whisking technique that actually creates froth instead of clumps. Once you’ve got the base method down, you can turn it into more than a dozen different drinks using ingredients you probably already have in your kitchen from a cozy vanilla version to a pink strawberry matcha that looks like it belongs on a café menu.
Below you’ll find the foolproof base recipe, the mistakes that ruin most homemade matcha lattes, and 14+ easy variations to keep in your back pocket for whatever mood (or season) you’re in.
[Image placement: vertical hero shot of a matcha latte with visible froth layers, styled on a wooden board]
What Is a Matcha Latte, Exactly?
A matcha latte is simply whisked matcha (finely ground green tea powder) combined with steamed or frothed milk. Unlike regular green tea, where you steep and discard the leaves, matcha uses the whole leaf in powdered form which is why it has a richer flavor, a deeper color, and a noticeably smoother caffeine boost than coffee.
The classic flavor is often described as earthy, slightly sweet, and a little vegetal, with a creamy finish once milk is added.
What You’ll Need Before You Start
You don’t need a full home barista setup, but a few basics make a huge difference:
- Matcha powder Ceremonial-grade matcha (made from the youngest tea leaves) is smoother and better suited to lattes, while culinary-grade tends to taste more bitter and is better reserved for baking.Culinary grade matcha powder is typically used for baking and has a stronger, more bitter flavor Quality matcha typically runs in the $20–$50 range depending on grade and sourcing.Get matcha in the $30-50 price range, since prices have gone up due to demand and tariffs
- A fine mesh sieve for sifting out clumps before you whisk.
- A whisk a traditional bamboo chasen is ideal, but a small kitchen whisk or milk frother works just fine.
- Milk of choice dairy, oat, almond, or coconut all work well.
- Filtered water heated, not boiling.
The Base Method: Classic Hot Matcha Latte
This is the technique every variation below is built on, so it’s worth getting right the first time.
Step 1: Sift the matcha. Run 1–2 teaspoons of matcha powder through a fine mesh sieve into a bowl or mug. This single step prevents almost all the clumping problems people run into.Sifting matcha helps make the latte smooth, creamy, and lump-free Love and Lemons
Step 2: Heat your water — but don’t boil it. Warm water to roughly 170–180°F. Water that’s too hot can scorch the matcha and make it taste bitter, so an electric kettle set to around 175°F works well, or simply bring it to a bare simmer on the stovetop and let it sit for a minute before pouring. Oh, How Civilized
Step 3: Whisk into a paste, then add more water. Add a small splash of the hot water to your sifted matcha first and whisk it into a smooth paste — this is the trick that eliminates lumps before you add the rest of the liquid. Then whisk in the remaining water using a brisk “W” or “M” motion, not a circular one.Whisking the matcha and water in an up-and-down M motion, rather than stirring in circles, is what creates the smooth, frothy texture NeighborFood
Step 4: Froth your milk. Heat and froth your milk of choice using a frother, steam wand, or by shaking warm milk vigorously in a sealed jar.
Step 5: Combine and serve. Pour the frothed milk into a mug, then pour the whisked matcha over the top so it sits in a pretty layer, and give it a gentle stir.
💡 Save this ratio: A good starting point is about 1 teaspoon of matcha to 2 oz of water and 6 oz of milk adjust up or down depending on how strong you like it.A common ratio is roughly 3g matcha, 1 oz warm water, and 2.7 oz milk, with a general 1:10 powder-to-water rule if you want to adjust strength
How to Make It Iced Instead
Swap the process slightly: whisk your matcha with cold or room-temperature water (not hot) directly over ice, then pour cold milk over the top. If you want the beautiful two-tone layered look, add a little sweetener to your milk first the natural sugars help it settle at the bottom of the glass so the matcha sits distinctly on top.
[Image placement: overhead shot of an iced matcha latte glass showing the layered green-and-white effect]
3 Mistakes That Ruin Most Homemade Matcha Lattes
- Skipping the sift. This is the #1 cause of clumpy, gritty lattes.
- Using boiling water. It scorches the matcha and brings out a harsh, bitter flavor.
- Whisking in circles. It won’t create the friction needed to dissolve the powder or produce a proper froth — you need the brisk up-and-down motion instead.
14+ Easy Matcha Latte Variations to Try at Home
Once you’ve mastered the base recipe, these flavor twists take just an extra ingredient or two.
1. Classic Hot Matcha Latte The original. Just matcha, hot water, and steamed milk.
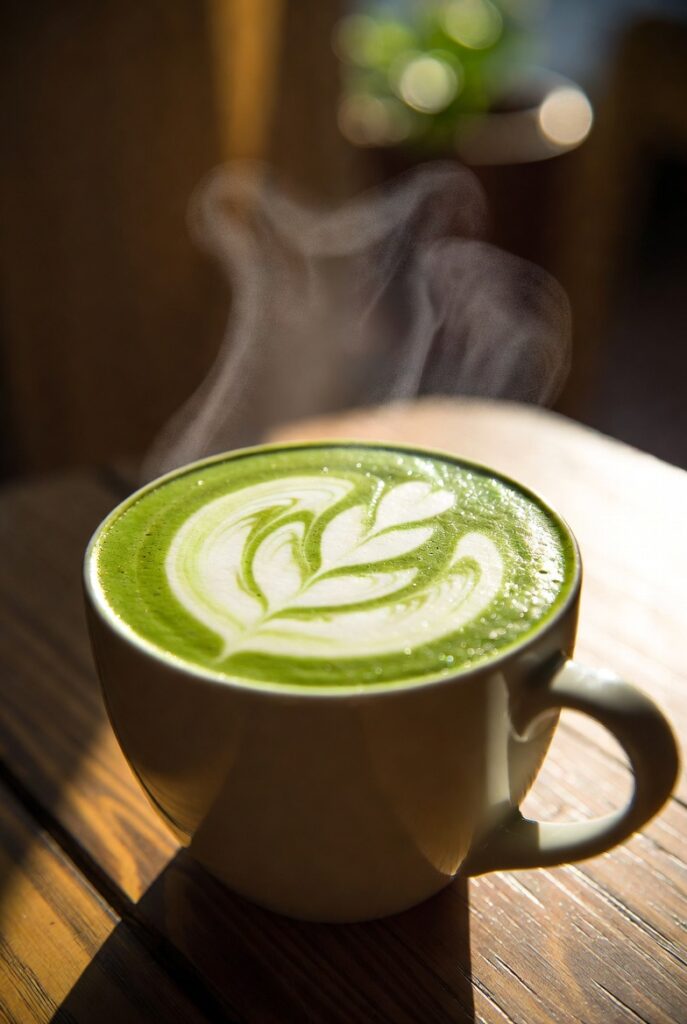
2. Iced Matcha Latte Same base, served cold over ice for a refreshing afternoon pick-me-up.
3. Vanilla Matcha Latte Add a splash of vanilla extract or vanilla syrup to your milk before frothing for a warm, rounded sweetness.
Read Also: Meal Tasty Vibes
4. Honey Matcha Latte Swap sugar for a spoonful of raw honey, whisked directly into the warm matcha for natural sweetness.
5. Honey Lavender Matcha Latte
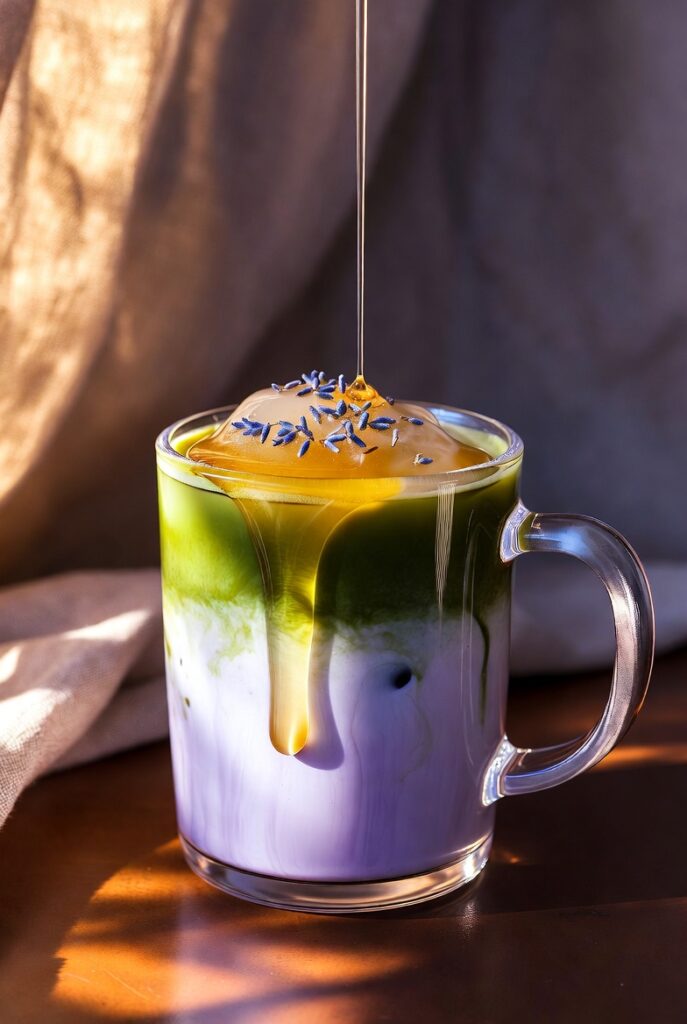
Stir 1–2 teaspoons of lavender syrup into your milk before pouring, then top with the matcha for a floral café-style drink.Add lavender syrup to your milk, pour it over ice, and slowly pour the prepared matcha over the top, optionally garnishing with dried culinary lavender Canalcoffeecompany
6. Strawberry Matcha Latte
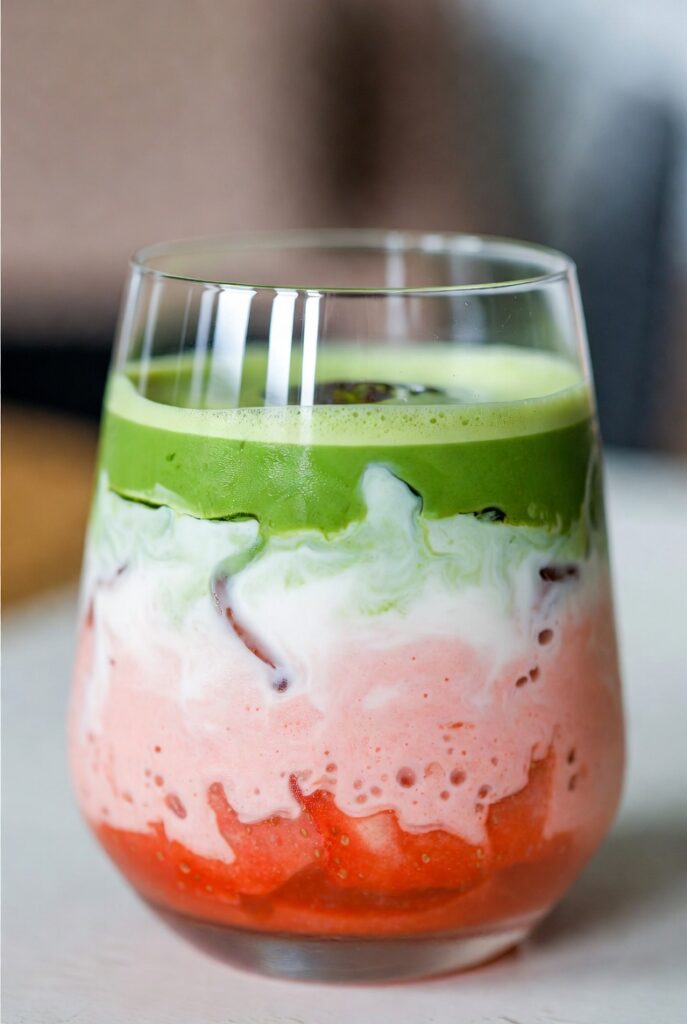
Blend a few fresh strawberries with a touch of honey, spoon it into the bottom of your glass, add ice and milk, then layer the matcha on top for a viral-worthy pink-and-green drink.Blending fresh strawberries with honey and layering it under milk and matcha creates the popular strawberry matcha look Canalcoffeecompany
[Image placement: close-up of the strawberry matcha layers, vertical crop for saving/pinning]
7. Coconut Matcha Latte Use full-fat coconut milk in place of regular milk for a rich, tropical, dairy-free version.
8. Oat Milk Matcha Latte
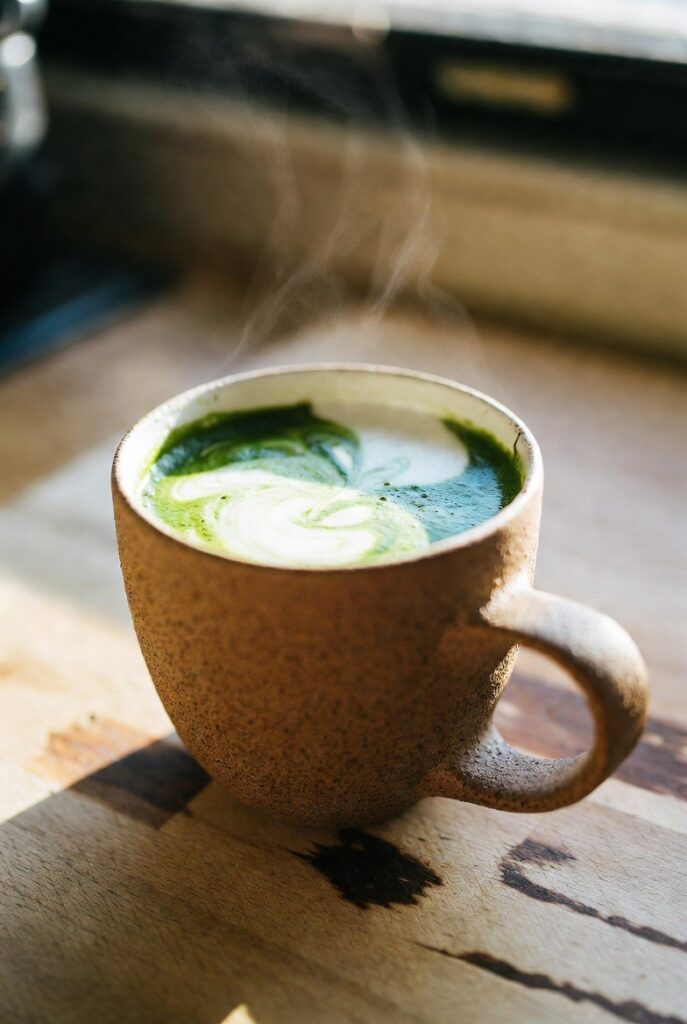
Oat milk froths beautifully and adds a naturally sweet, creamy body a favorite among matcha latte fans for its texture.
9. Brown Sugar Matcha Latte Dissolve a spoonful of brown sugar (or brown sugar simple syrup) into your milk before frothing for a caramel-like depth.
10. Maple Cinnamon Matcha Latte Whisk a touch of maple syrup and a pinch of cinnamon into your milk for a cozy, fall-inspired sip.
11. Pistachio Matcha Latte Stir in a spoonful of pistachio syrup for the nutty, slightly sweet flavor that’s become a coffee-shop favorite.
12. Banana Matcha Latte
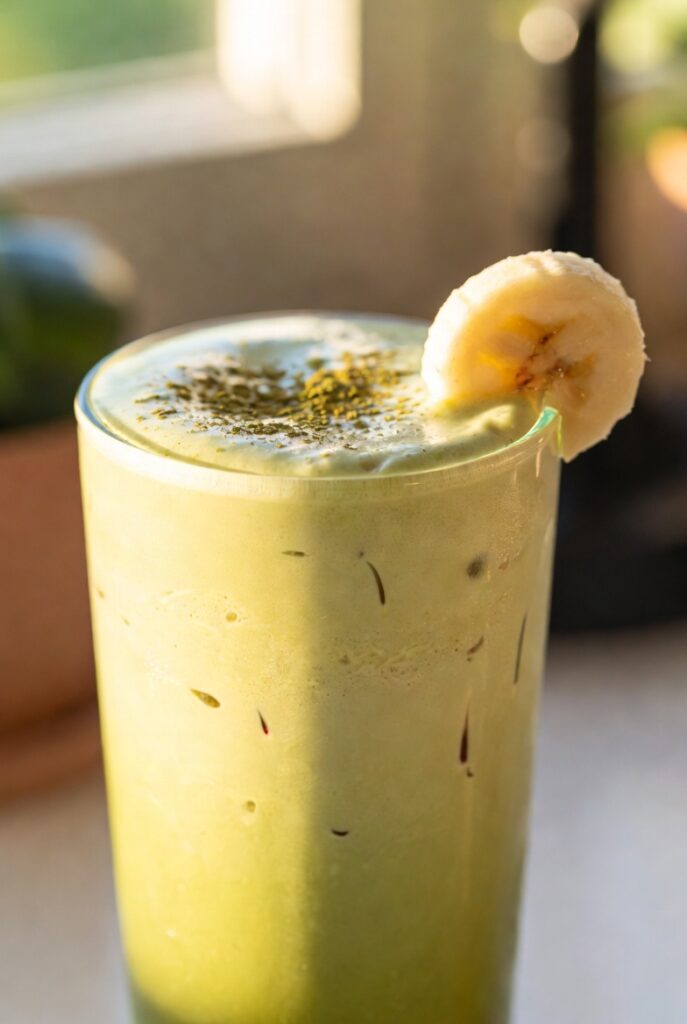
Blend half a ripe banana with your milk until smooth for a naturally sweet, smoothie-like twist.Blending half a ripe banana with milk, then adding a splash of vanilla, turns a matcha latte into a naturally sweet, smoothie-like drink Canalcoffeecompany
13. Blended Frozen Matcha Latte Add ice directly to a blender with your matcha, milk, and a little sweetener for a thick, slushy version perfect for hot days.
14. Golden Turmeric Matcha Latte
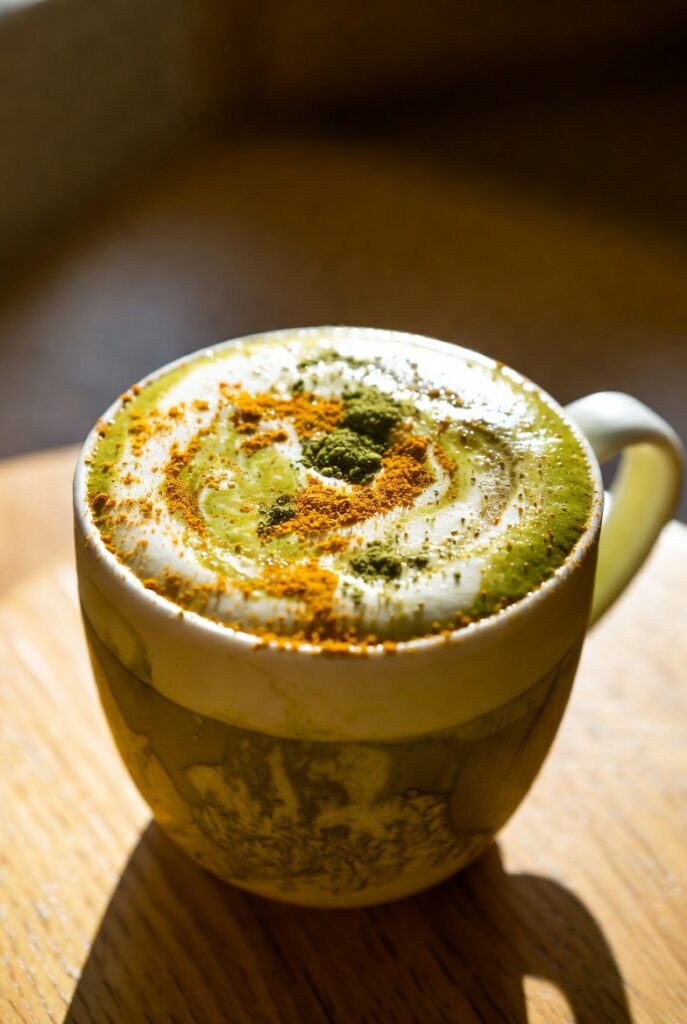
Whisk in a pinch of turmeric and black pepper for an earthy, anti-inflammatory-inspired twist on the classic.
15. Peppermint Matcha Latte A drop of peppermint extract makes a cooling, dessert-like drink that’s especially good iced.
Bonus — 16. Rose Matcha Latte Stir in a small amount of rose syrup or rosewater for a fragrant, Instagram-ready variation.
Save-worthy tip: Most of these variations use the exact same base method you’re really just swapping one ingredient in the milk. Once you’ve made the classic version twice, you’ll be able to freestyle the rest.
[Image placement: flat-lay grid graphic showing 4–6 of the variations side by side, ideal for a Pinterest pin]
Tools That Make This Easier (But Aren’t Required)
- Matcha whisk (chasen): Creates the signature froth and helps dissolve powder without clumps.A matcha whisk, or chasen, is the traditional bamboo tool used to mix matcha and create its signature froth
- Milk frother: A handheld or built-in frother saves time and gives café-quality foam.
- Fine mesh sifter: Small sifters are inexpensive and make an outsized difference in texture.
- Digital scale: For anyone who wants a precise, repeatable matcha-to-water ratio every time.A digital scale is often recommended over measuring spoons for more precise, repeatable matcha ratios
If you don’t have a whisk on hand, you’re not stuck combine your sifted matcha and water in a small jar with a lid, and shake it vigorously until frothy.If you don’t have a matcha whisk, you can combine the sifted matcha and water in a sealed container and shake vigorously to combine
Frequently Asked Questions
Why does my matcha latte taste bitter?
It’s almost always the water temperature. Water that’s too hot (or boiling) scorches the matcha and pulls out bitter compounds stick to around 170–180°F.
Can I make a matcha latte without a bamboo whisk?
Yes. A small kitchen whisk, a milk frother, or even a jar you shake vigorously will all dissolve the matcha effectively.
What’s the best milk for a matcha latte?
Any milk works, but oat milk and whole milk tend to create the creamiest texture, while coconut milk adds a rounder, richer flavor.
How much caffeine is in a matcha latte?
It’s generally lower than a cup of coffee but higher than steeped green tea, and many people describe the energy as steadier and less jittery.
Can I make matcha lattes ahead of time?
The whisked matcha can be refrigerated for up to 24 hours in an airtight container, though it’s best enjoyed fresh. Add the milk right before serving for the best texture.
The Bottom Line
Once you’ve got the sifting, water temperature, and whisking technique down, a homemade matcha latte takes about five minutes and costs a fraction of the coffee shop version. Start with the classic recipe, then work your way through the flavor variations above until you find your new go-to.
[Image placement: final vertical “recipe card” style graphic summarizing the base ratio and steps, designed for saving to Pinterest]